Blog
Push Up Board Exercises: Complete Workout Guide

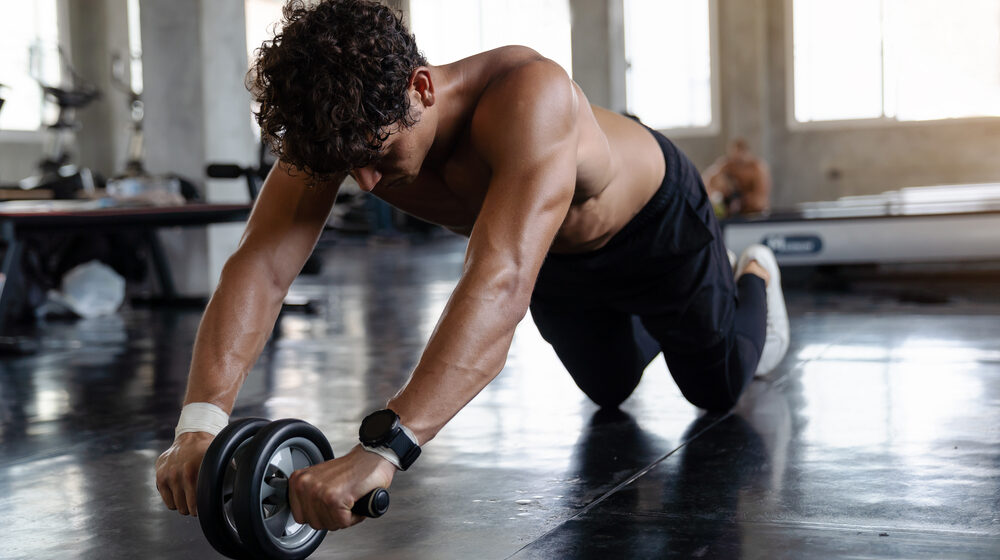
Looking for effective push up board exercises to build serious upper body strength at home? This comprehensive guide covers everything you need to transform standard press ups into targeted muscle-building sessions.
The push up board (also called a press up board throughout the UK) transforms ordinary bodyweight exercise into precise, muscle-targeting movements. The colour-coded hand positions let you focus on specific muscle groups with each repetition.
Whether you’re a complete beginner learning how to use push up board for beginners or you’re ready for advanced push up board exercises, this push up board workout guide walks you through every exercise, proper form, and complete training programmes you can start today.
Quick Overview: How Push Up Board Positions Work
A push up board uses colour-coded hand placement positions to target different muscles. Each colour corresponds to a specific muscle group: chest, shoulders, back, or triceps. By changing positions strategically, you achieve a complete upper body workout from one piece of home gym equipment.

How to Use a Push Up Board Correctly
Before diving into specific push up board exercises, master these fundamentals for safe, effective strength training.
Basic Press Up Board Setup:
- Place the board on a flat, stable surface
- Insert the handles into your chosen colour position
- Grip handles firmly with wrists aligned straight
- Maintain a rigid plank position throughout
Essential Push Up Board Form Points:
- Keep your core braced throughout every repetition
- Lower your chest toward the board, not your head
- Maintain a straight line from head to heels (proper alignment)
- Control both the lowering and pushing phases (controlled movement)
- Breathe in as you lower, out as you push
Common Push Up Board Mistakes to Avoid:
- Letting hips sag toward the floor (losing core engagement)
- Flaring elbows out at 90 degrees (keep them at 45 degrees)
- Rushing through reps without control
- Placing handles in wrong colour slots
- Forgetting to engage your core before starting
Push Up Board Colour Guide: What Each Position Targets
Understanding the push up board color code system is essential for effective press up board training.
| Colour | Target Muscle | Hand Position | Best For |
|---|---|---|---|
| Red | Chest | Wide, angled outward | Chest workout mass |
| Blue | Shoulders | Forward, shoulder-width | Shoulder workout development |
| Yellow | Triceps | Narrow, close together | Tricep workout toning |
| Green | Back | Wide, angled inward | Lat activation |
What do push up board colors mean? Each colour targets specific muscles through optimized hand placement angles. Red emphasizes pectorals, blue hits deltoids, yellow isolates triceps, and green engages lats.
Pro tip: Start each session by identifying which muscles you want to focus on, then select the corresponding colour positions.

Beginner Push Up Board Exercises
New to the press up board? Start with these foundational push up board for beginners exercises to build strength safely.
1. Standard Chest Press Up (Red Position)
The foundation of all push up board training.
How to do it:
- Place handles in the red (outer) position
- Position hands slightly wider than shoulder-width
- Lower chest toward the board with complete control
- Push back up until arms are fully extended
Sets and reps: 3 sets of 8–10 reps
Targets: Push up board chest exercises – pectorals, front deltoids, triceps
2. Incline Press Up (Any Position)
Easy push up board exercises perfect for building initial strength.
How to do it:
- Place the board against a sturdy elevated surface
- Perform press ups at an angle
- Focus on full range of motion
Sets and reps: 3 sets of 10–12 reps
Why it works: Incline push up board variations reduce resistance, making them ideal for beginner push up board routine development.
3. Shoulder Focus Press Up (Blue Position)
Targets your deltoids for broader shoulders.
How to do it:
- Place handles in the blue (forward) position
- Keep hands at shoulder-width
- Lower with elbows pointing slightly forward
- Push up whilst squeezing shoulders
Sets and reps: 3 sets of 8–10 reps
Targets: Push up board shoulder exercises – deltoids, upper chest, triceps
4. Wide Grip Press Up (Red Position – Widest)
Emphasises outer chest and increases stretch through muscle activation.
How to do it:
- Place handles in the widest red slots
- Lower slowly, feeling the chest stretch
- Push up explosively
Sets and reps: 3 sets of 8–10 reps
Targets: Wide push up board position – outer pectorals, anterior deltoids
Intermediate Push Up Board Exercises
Ready to progress? These push up board exercises increase the challenge significantly through progressive difficulty.
5. Close Grip Tricep Press Up (Yellow Position)
Isolates the triceps for arm development.
How to do it:
- Place handles in the yellow (narrow grip push up board) position
- Keep elbows tucked close to your body throughout
- Lower until upper arms are parallel to floor
- Push up focusing on tricep contraction
Sets and reps: 3 sets of 10–12 reps
Targets: Push up board tricep exercises – triceps brachii, inner chest
6. Back Focus Press Up (Green Position)
Unique angle that engages your lats and upper back muscles.
How to do it:
- Place handles in the green position
- Angle hands slightly inward
- Focus on squeezing shoulder blades together
- Control the movement throughout
Sets and reps: 3 sets of 8–10 reps
Targets: Push up board back exercises – latissimus dorsi, rhomboids, rear deltoids
7. Decline Press Up
Increases difficulty and upper chest activation through angle change.
How to do it:
- Place feet on an elevated surface behind you
- Position hands on board in chest position
- Lower with control, push up powerfully
Sets and reps: 3 sets of 8–10 reps
Targets: Decline push up board – upper pectorals, front deltoids, core stability
Advanced Push Up Board Exercises
These challenging push up board moves demand serious strength and complete control.
8. Diamond Press Up (Yellow – Closest Position)
Maximum tricep activation with increased difficulty through close grip push up board positioning.
How to do it:
- Place handles as close together as possible
- Form a diamond shape with hand placement
- Lower chest toward hands
- Push up whilst keeping elbows tight
Sets and reps: 3 sets of 6–8 reps
Targets: Diamond push ups board – triceps (primary), inner chest, front deltoids
9. Archer Press Up
Single-arm emphasis for strength imbalance correction and unilateral development.
How to do it:
- Place handles in wide grip position
- Shift weight to one arm whilst lowering
- Keep other arm extended for support
- Alternate sides each repetition
Sets and reps: 3 sets of 5–6 reps each side
Why it works: Builds unilateral strength and corrects muscle imbalances.
10. Explosive Press Up
Builds power and fast-twitch muscle activation.
How to do it:
- Start in standard chest position
- Lower with complete control
- Push up explosively (hands may leave handles briefly)
- Land softly and repeat
Sets and reps: 3 sets of 6–8 reps
Targets: Power development, fast-twitch muscle fibres, plyometric strength
Complete Push Up Board Workout Routines
Here are structured push up board workout plan programmes based on your fitness level:
10-Minute Quick Workout
Perfect for busy days or push up board beginner workout sessions.
| Exercise | Sets | Reps | Rest |
|---|---|---|---|
| Chest Press Up (Red) | 2 | 10 | 30 sec |
| Shoulder Press Up (Blue) | 2 | 10 | 30 sec |
| Tricep Press Up (Yellow) | 2 | 10 | 30 sec |
| Back Press Up (Green) | 2 | 10 | 30 sec |
Total time: 10 minutes
Frequency: Daily or 5× weekly
Beginner Weekly Plan (3 Days)
| Day | Focus | Exercises | Total Sets |
|---|---|---|---|
| Monday | Chest & Triceps | Red + Yellow positions | 6 sets |
| Wednesday | Shoulders & Back | Blue + Green positions | 6 sets |
| Friday | Full Upper Body | All 4 colour positions | 8 sets |
Push up board sets and reps: 3 sets × 10 reps per exercise
Rest days: Tuesday, Thursday, Saturday, Sunday
Advanced Push Up Board Challenge
| Exercise | Sets | Reps | Rest |
|---|---|---|---|
| Decline Press Up | 3 | 12 | 45 sec |
| Diamond Press Up | 3 | 10 | 45 sec |
| Archer Press Up | 3 | 6 each | 60 sec |
| Explosive Press Up | 3 | 8 | 60 sec |
| Standard Press Up (burnout) | 1 | Maximum | – |
Total time: 15–18 minutes
Frequency: 3–4× weekly with rest days

Press Up Board Form Tips for Better Results
Maximize every repetition with these push up board technique pointers:
- Warm up properly – 2–3 minutes of arm circles and light movement
- Engage your core – Brace as if someone’s about to punch your stomach
- Control the negative – Take 2–3 seconds to lower down
- Full range of motion – Chest nearly touches the board each rep
- Squeeze at the top – Contract your target muscles at full extension
- Breathe rhythmically – Never hold your breath during movement
- Progress gradually – Add 1–2 reps weekly before adding sets